
Hey!
I’m sorry for my inactivity, but we got a lot on our plate now, but I promise, I’ll try my best to catch up! 🙂 I know there is no crafting a diy on my blog, (well beside the recipes…they’re diy, aren’t they…?!) but today I’ll share my simple and easy DIY Jewelry Holders!
It’s probably new to you, but I’m really a crafty-diy person, I love doing it and I always happy to see craft ideas…the only problem is that I give up way too early if what I try to do is not exactly how it should look like….aand I’m impatient…so I only do simple and easy crafts and diys.
A few years ago I had enough of not finding my jewelry, also I had a lot I didn’t used…like never… So one day I gathered all my jewelry, layed them down on the floor and I realized that there were a lot I didn’t even remember I had too. I had to find some solution to organize, display and hold my jewelry, all in one place, so I don’t have to go through all of them when I try to find just one…
I checked out the Pinterest ideas, but I soon figured out I have to do it from what I have (I didn’t have salary back than).
This is how these Jewelry Holders got created.
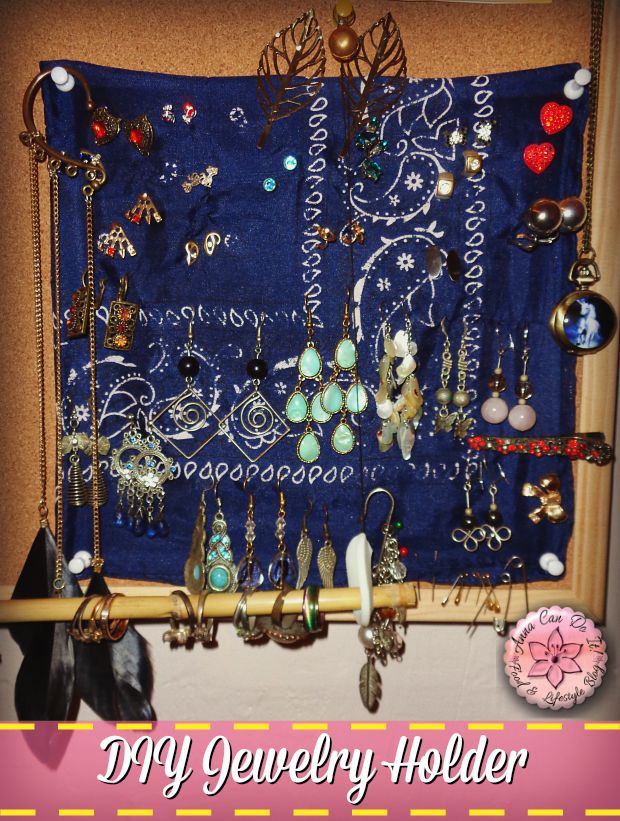
First of all, I hold and display all my jewelry on a corkboard.
For my Earring DIY Jewelry Holder (above) I simply used a kerchief and 4 push pin..that’s it…oh…and my earrings! I pinned the earrings into the fabric, it worked out prefcetly for me. On the contrary of what I saw on Pinterest, I wasn’t using frame, but if you want it to be fancy, find a frame that works with the kerchief or fabric you use! 😉

For my Bracelet, Hair tie and Ring DIY Jewelry Holder I used a reed stick, two thread and two pushpin. It’s a simple way to organize and display them.
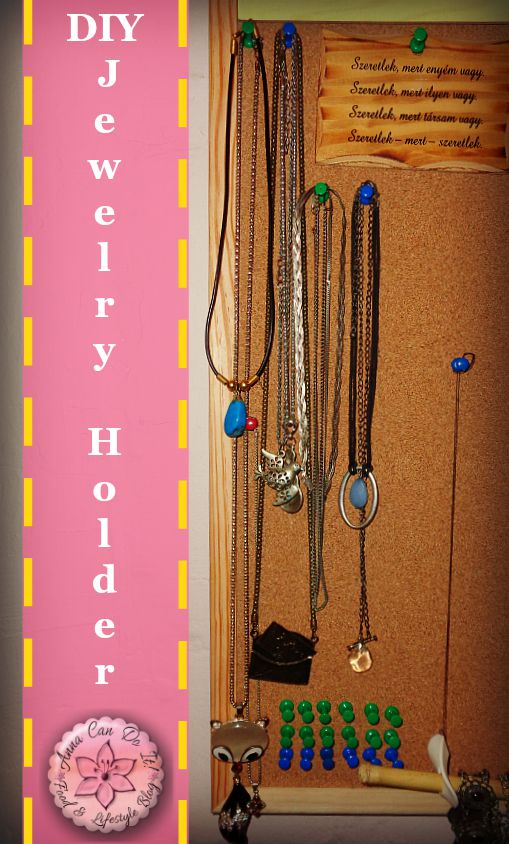
The easiest way to display the necklases are the pushpins (or knobs or anything like that).
I hope I gave you some ideas and you liked my first craft post! :))
How do you store/hold/display your jewelry?
Leave comment!